The Essentials for Bloggers
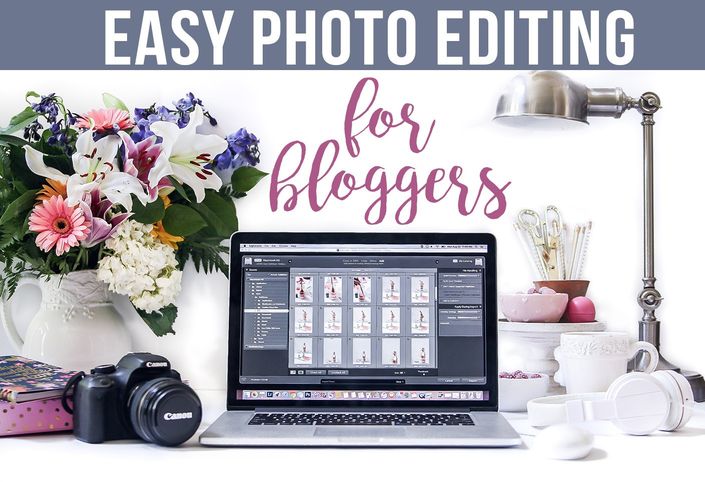
Easy Photo Editing for Bloggers
Think of all the hours you've spent editing your blog photos.
First you have to actually take the photos, which is a hard enough task all by itself. Then, if you're using an editing software like Photoshop or Picmonkey, you have to upload your photos one by one and actually edit the pictures. Next comes the resizing, watermarking and cataloging of all those images in some sort of filing system where you can find them again.
Multiply all of that times every single post that needs pretty pictures for not only your blog, but also your social media-- Facebook, Twitter and especially Pinterest. Nowadays even Instagram feeds are "curated" with perfectly styled photos!
It's hard to keep up, right? Photo editing is a tedious part of the ever-changing blogging process.
Blogging is an extremely visual media and your blog success depends on high-quality content to draw readers to your site. If content is King, your photos are the Queen of your posts. And even though this course is aimed at bloggers, online content creators of ALL types can benefit from having excellent photography on their websites.
Even if you're new to blogging, you know that photo editing is a time consuming part of the blogging process. But it really doesn't have to be!
What if I told you I could teach you how to edit an entire batch of photos from start to finish in just minutes?
That is the power of Lightroom.

The Lazy Girl's Guide to Lightroom will teach you simple tips and tricks to make your photo editing workflow a breeze. Here are a few of the things you'll learn with this class:
- Edit an entire batch of photos with just a few clicks
- Watermark a batch of images automatically
- Resize your pictures instantly
- Straighten your images with one click
- Download or save your own presets for your most-used edits
- Adjust uneven lighting or odd color casts on photos
- Auto-white balance with a single click
- Easily fix an overexposed or "blown-out" window
- Reduce the graininess (aka "noise") from pictures
- Airbrush out unwanted parts of the photo
- Create a crisp, white background for your product shots
- Resize images to 300 dpi when the print magazines come calling
- and LOTS more!

Lightroom is such a game-changer for bloggers.
Many Lightroom tutorials are written for professional photographers with lots of technical jargon that doesn't necessarily apply to our type of online content creation.
The Lazy Girl's Guide to Lightroom is written specifically for time-crunched bloggers with your unique needs in mind. Each lecture is presented as a video screen-share so you can watch my edits on the screen as they happen. Feel free to pause, rewind and follow along to edit your own photos as I teach you the simple steps to outstanding blog photography.
With this class, you'll be off and running with quick solutions to your most frustrating questions.
But first, let me ask you a simple question...

Your Instructor

Hi! I'm Beth. Armed with my Canon camera and my sarcastic wit, I've been blogging for over 10 years. Over the years I have accumulated tons of knowledge and time-saving shortcuts to make my blogging life easier. I freely admit that I am a Lazy Girl.
My motto is "Blog Smarter, Not Harder."
After years of teaching my fellow bloggers how to improve their photography skills, I'm gathering all my knowledge in one spot and teaching you everything I know about photo editing.
Ready to increase your productivity?
Let's learn Lightroom.
Course Curriculum
-
StartBeth's Five Minute Workflow Tutorial (6:27)
-
StartWhite Balance (2:48)
-
StartExposure Adjustments (7:00)
-
StartWhat Do all Those Editing Sliders Do? (12:00)
-
StartThe Crop Tool (6:32)
-
StartHow to Straighten your Images with One-Click (4:17)
-
StartCulling Your Best Images: Quick Rating Systems (4:28)
-
StartAnatomy of an Export (13:24)